


Step-by-Step Guide: How to Attach Pergola to House

Last year, we attached a pergola to our house to extend our living space outdoors, and it was one of the best home-improvement decisions we’ve made. In this guide on “how to attach pergola to house”, we’ll walk through pergola installation tips I’ve learned – what worked (and what didn’t) – so you can plan your own attached pergola step by step.
Know Your Local Codes and Site Conditions
Check Local Building Permits for Your Pergola
Before swinging a hammer, we did our homework on local codes. In most states across the U.S., certain small structures (often around 120 square feet in area and no more than 10 feet tall) are exempt from permitting requirements. However, if your structure exceeds certain dimensions, you may need to apply for a building permit.
Evaluate the Condition of the Actual Space
Next, consider the sun and shade patterns, roof height, and proximity to the house and property lines. Ensure you have sufficient clearance from utility lines, and the area can accommodate footings. Check that the ground is reasonably level, or be prepared to step on your footings if the yard slopes.
How to Choose an Attached Pergola
After the job of evaluation, it was time to decide the material first. Each material has trade-offs, and we looked at:
Wood: Wood is a classic choice. It has a warm, rustic charm that we love, and is relatively affordable to start with. However, wood needs upkeep. We learned that wooden pergolas require regular maintenance.
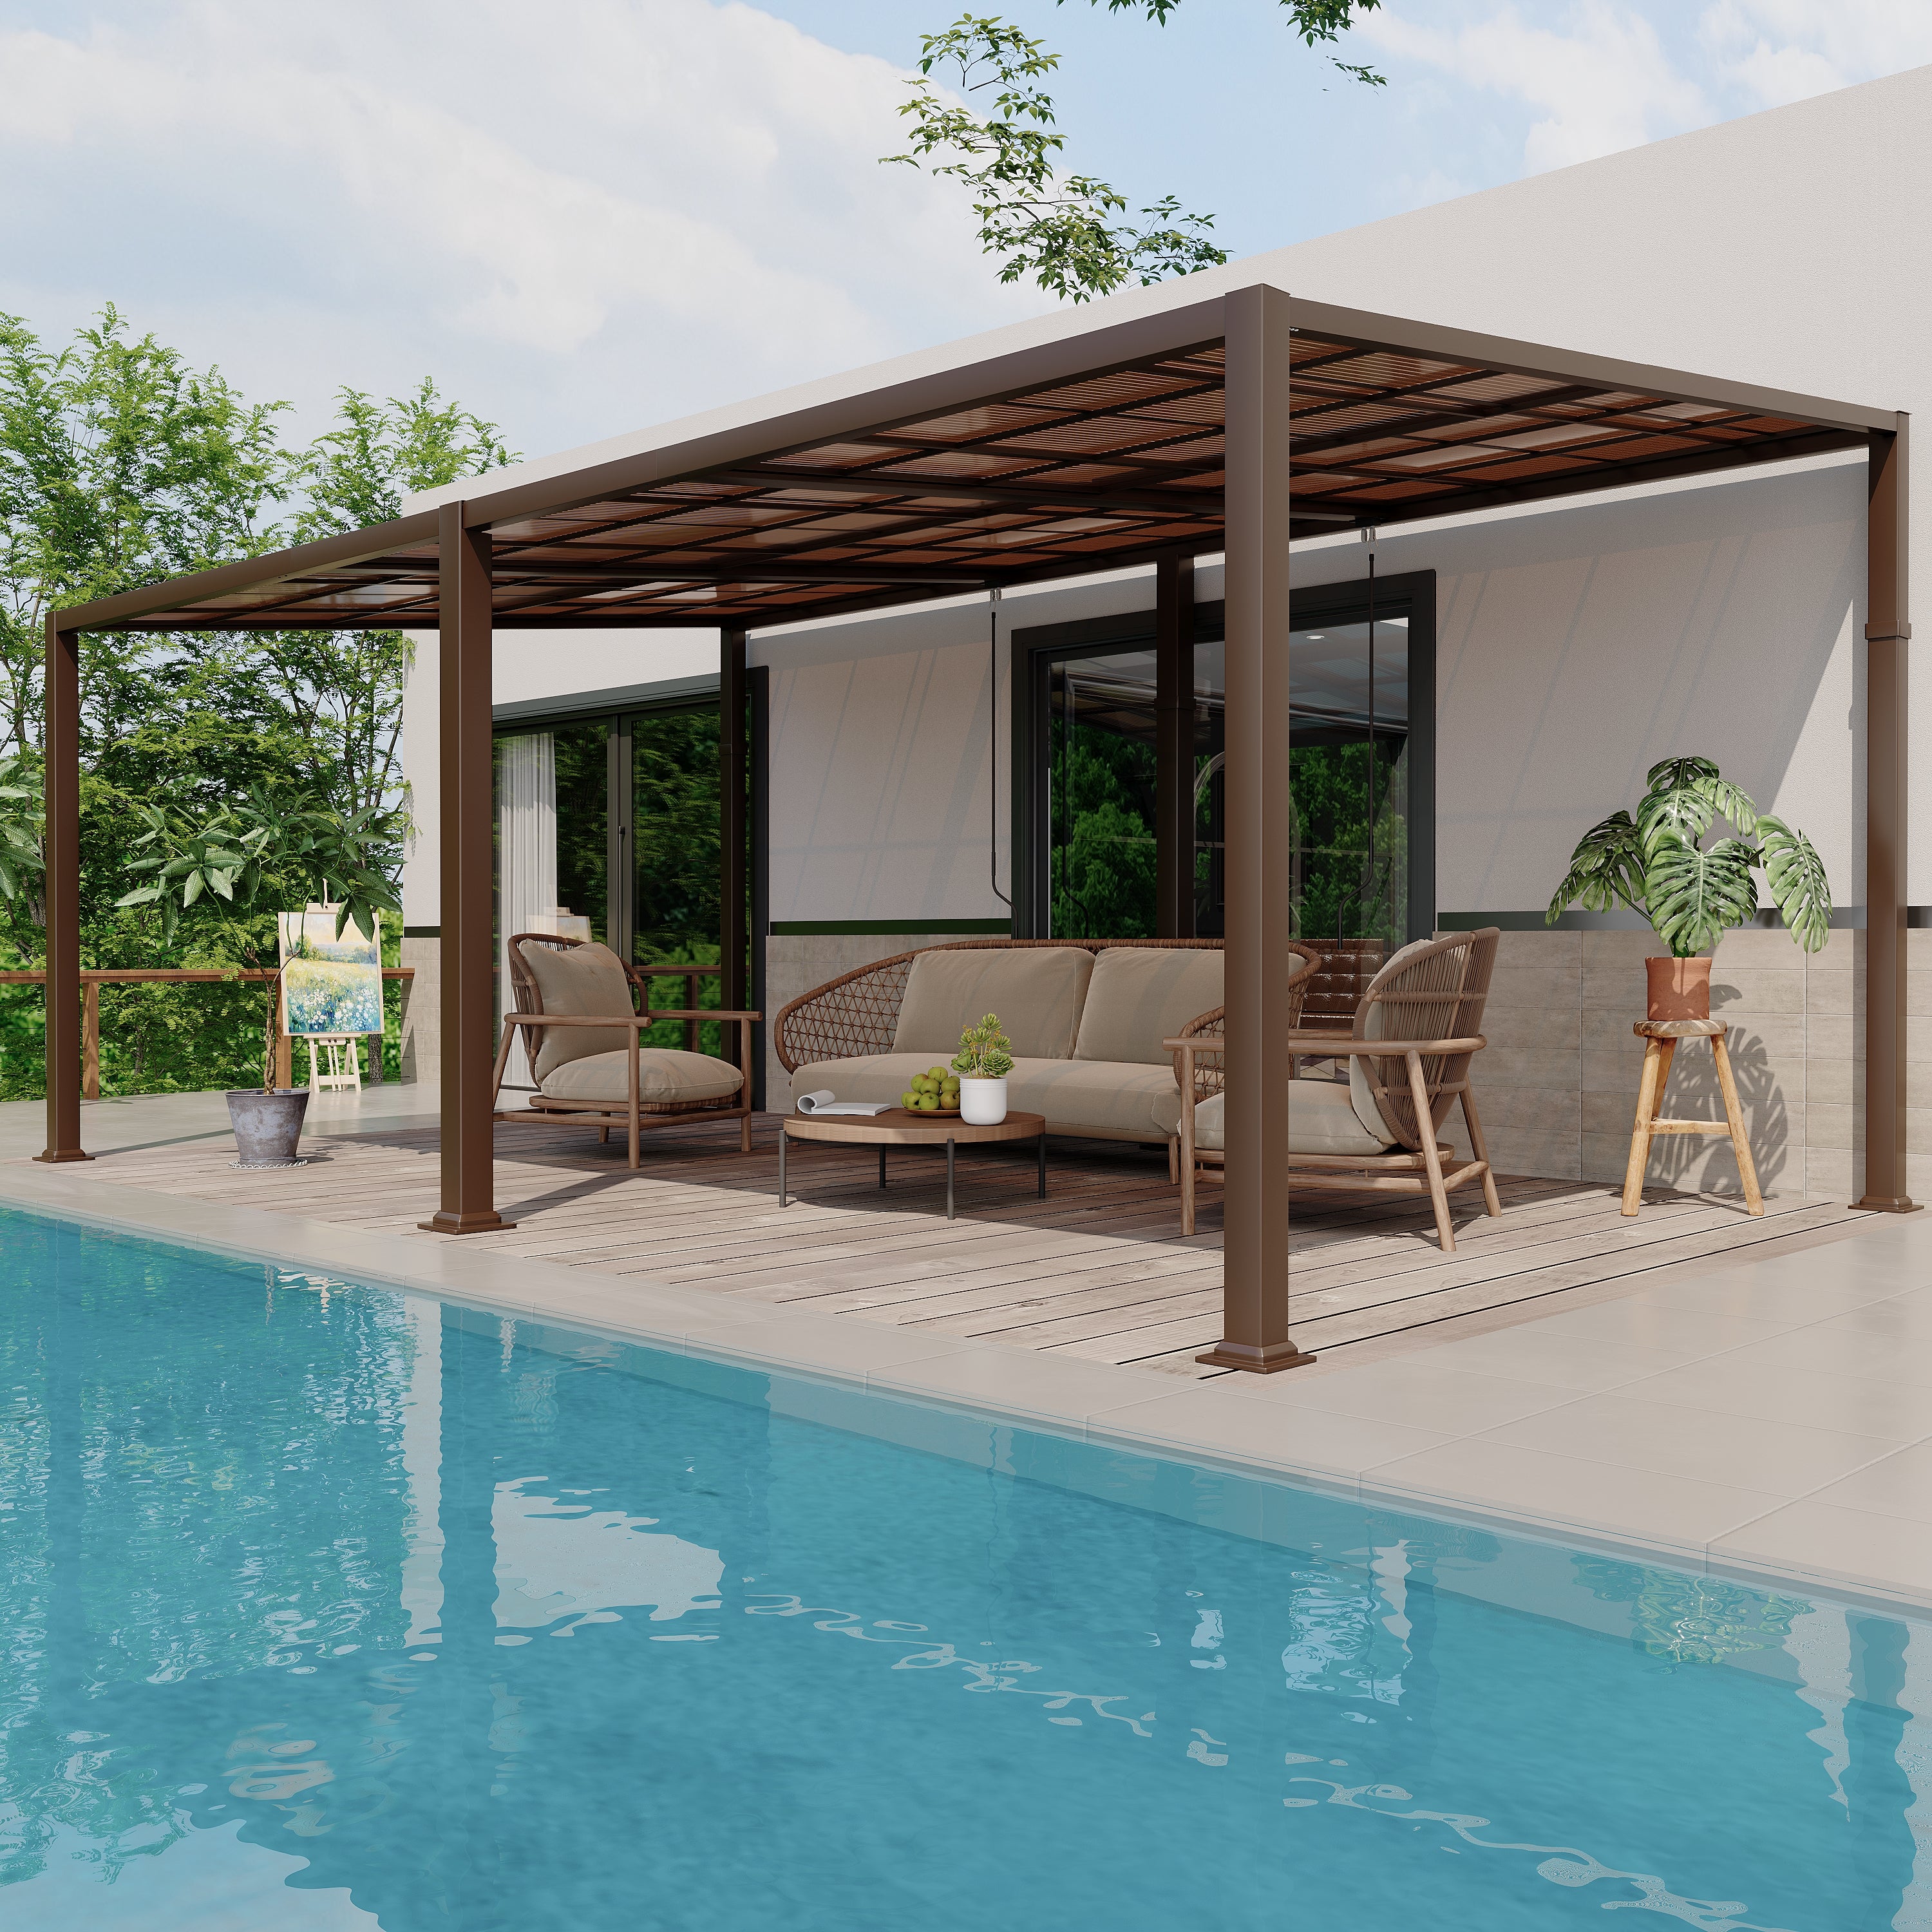
Metal (Aluminum or Steel): Modern metal pergolas are extremely durable and resist mold, rot, rust, and pests. They can offer various attached pergola ideas with sleek designs and integrated features like adjustable louvers or lighting.
Second, functions are another factor you should look into. Here are a few pergola ideas with different features:
1. Adjustable Louvered Pergola
This type of pergola offers a premium option for four-season use. It allows you to easily open slats on sunny days and close them during rain.
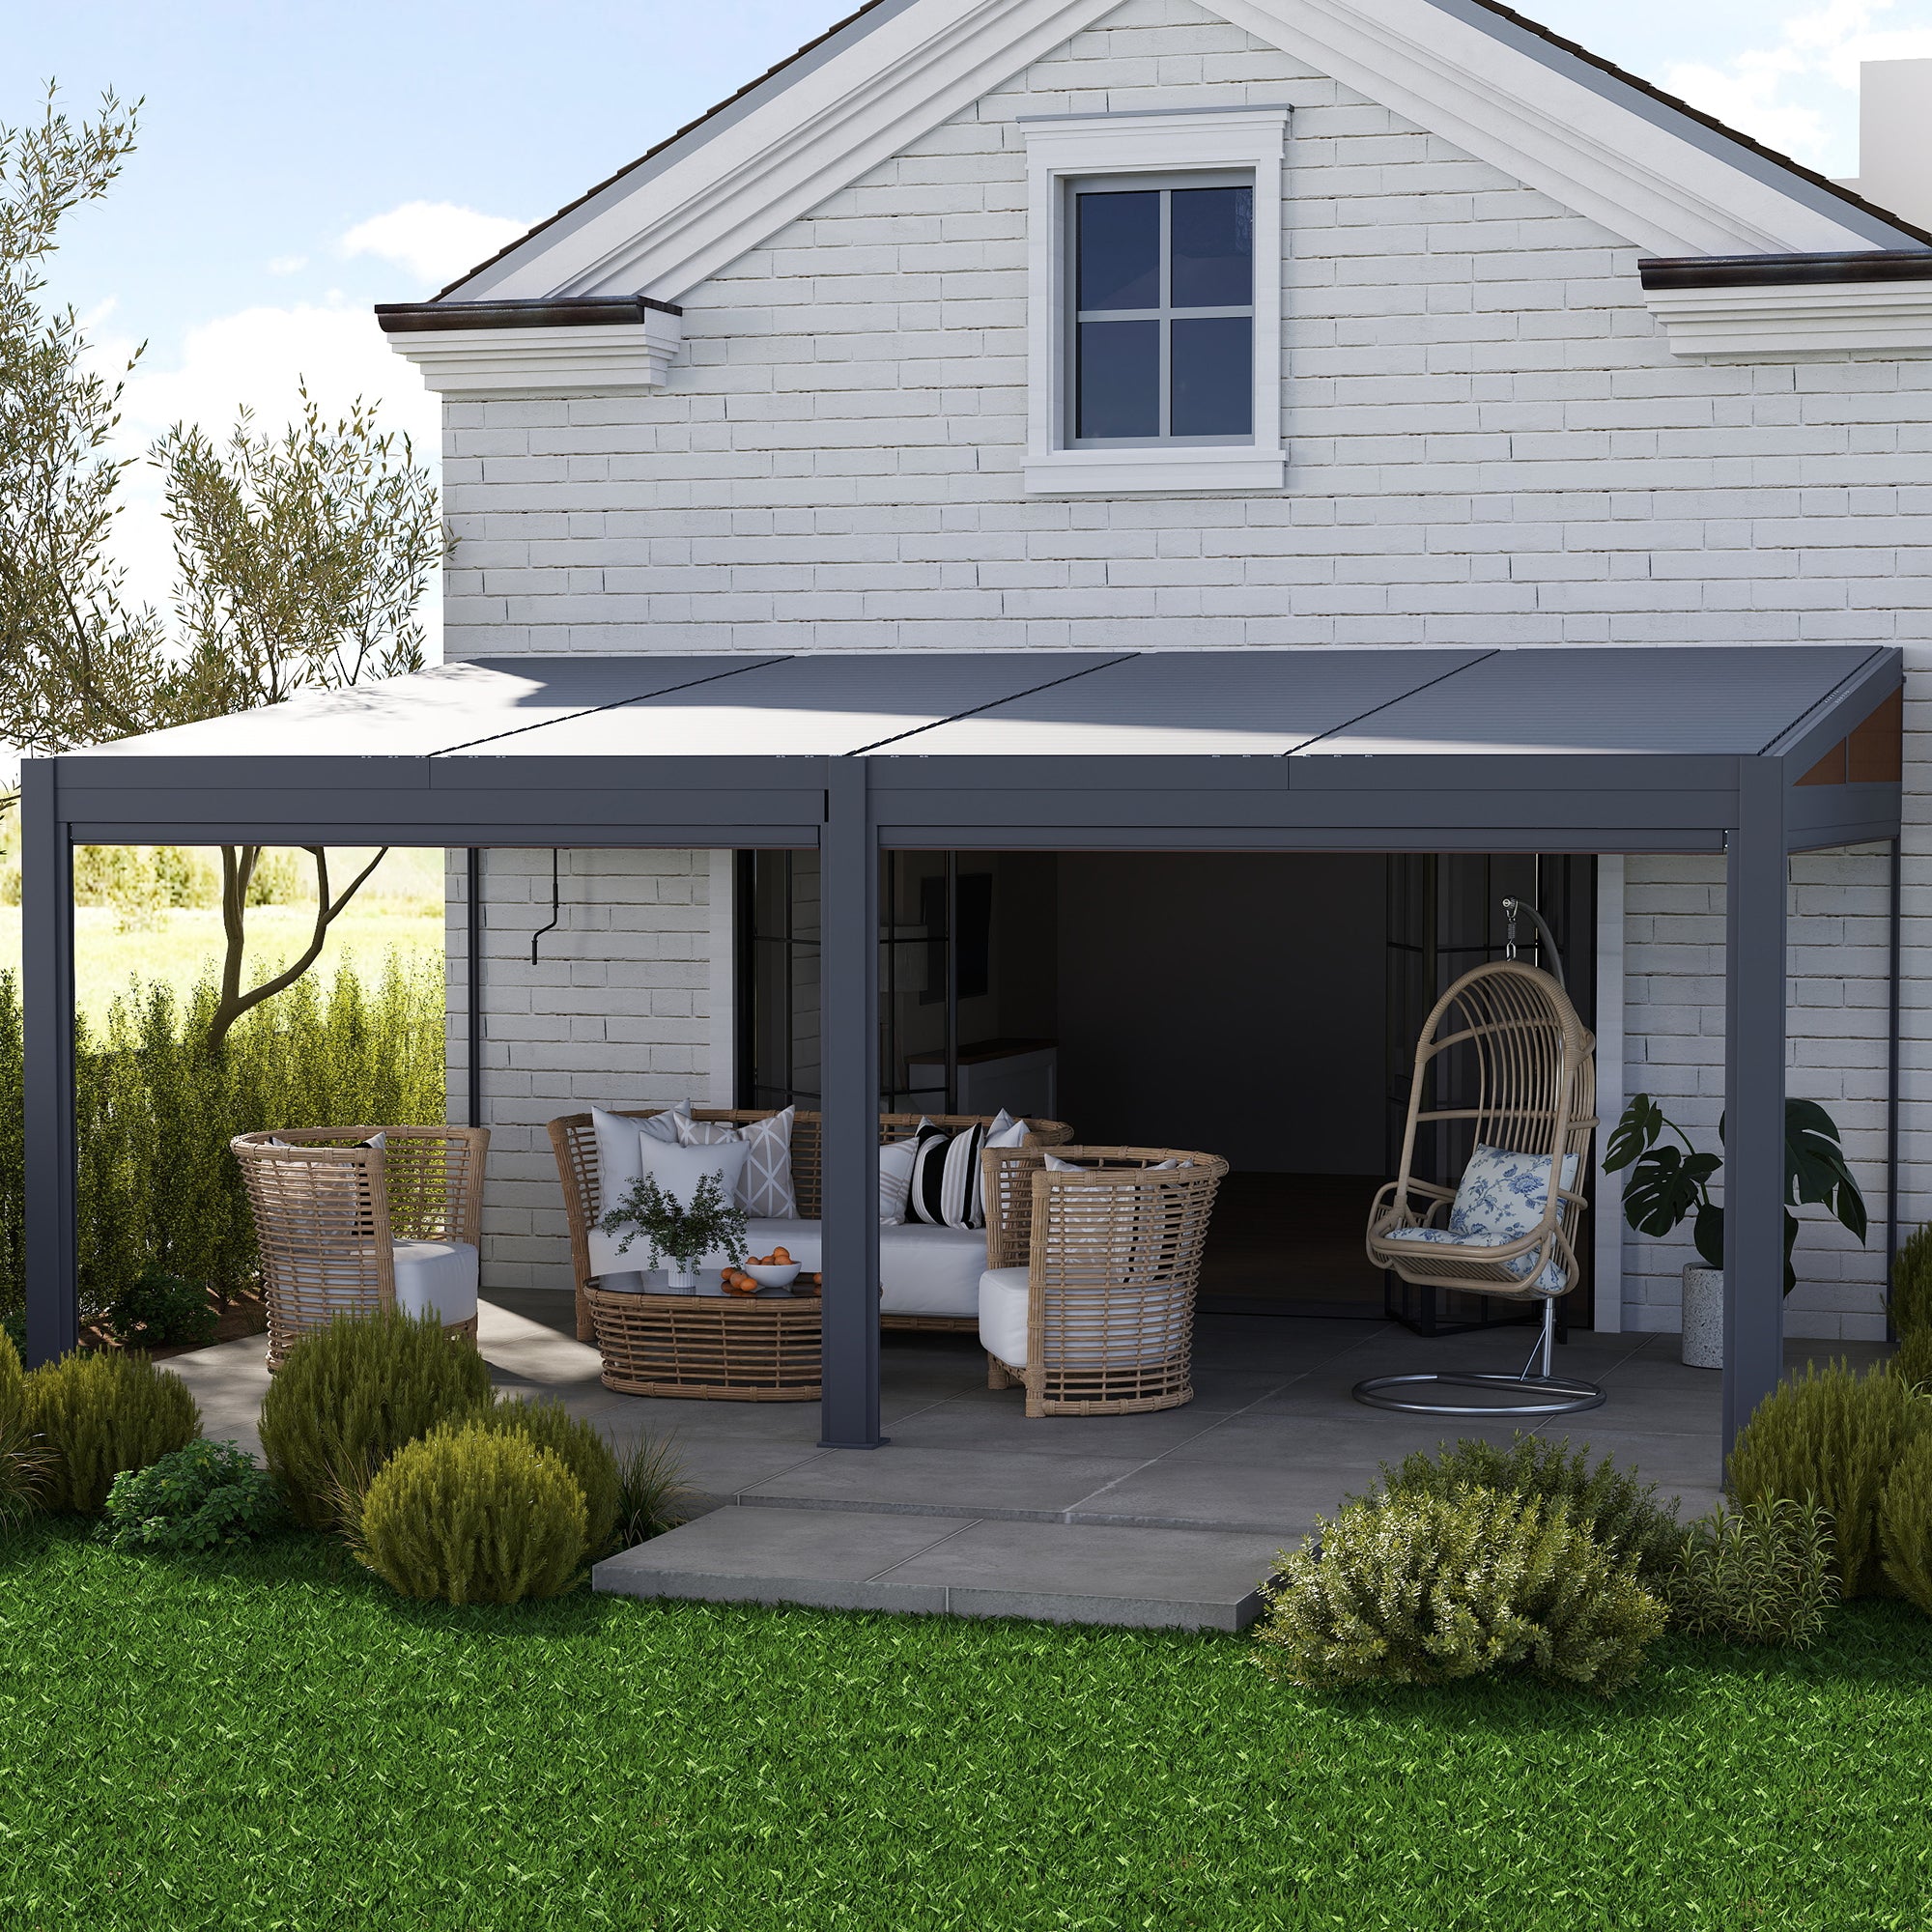
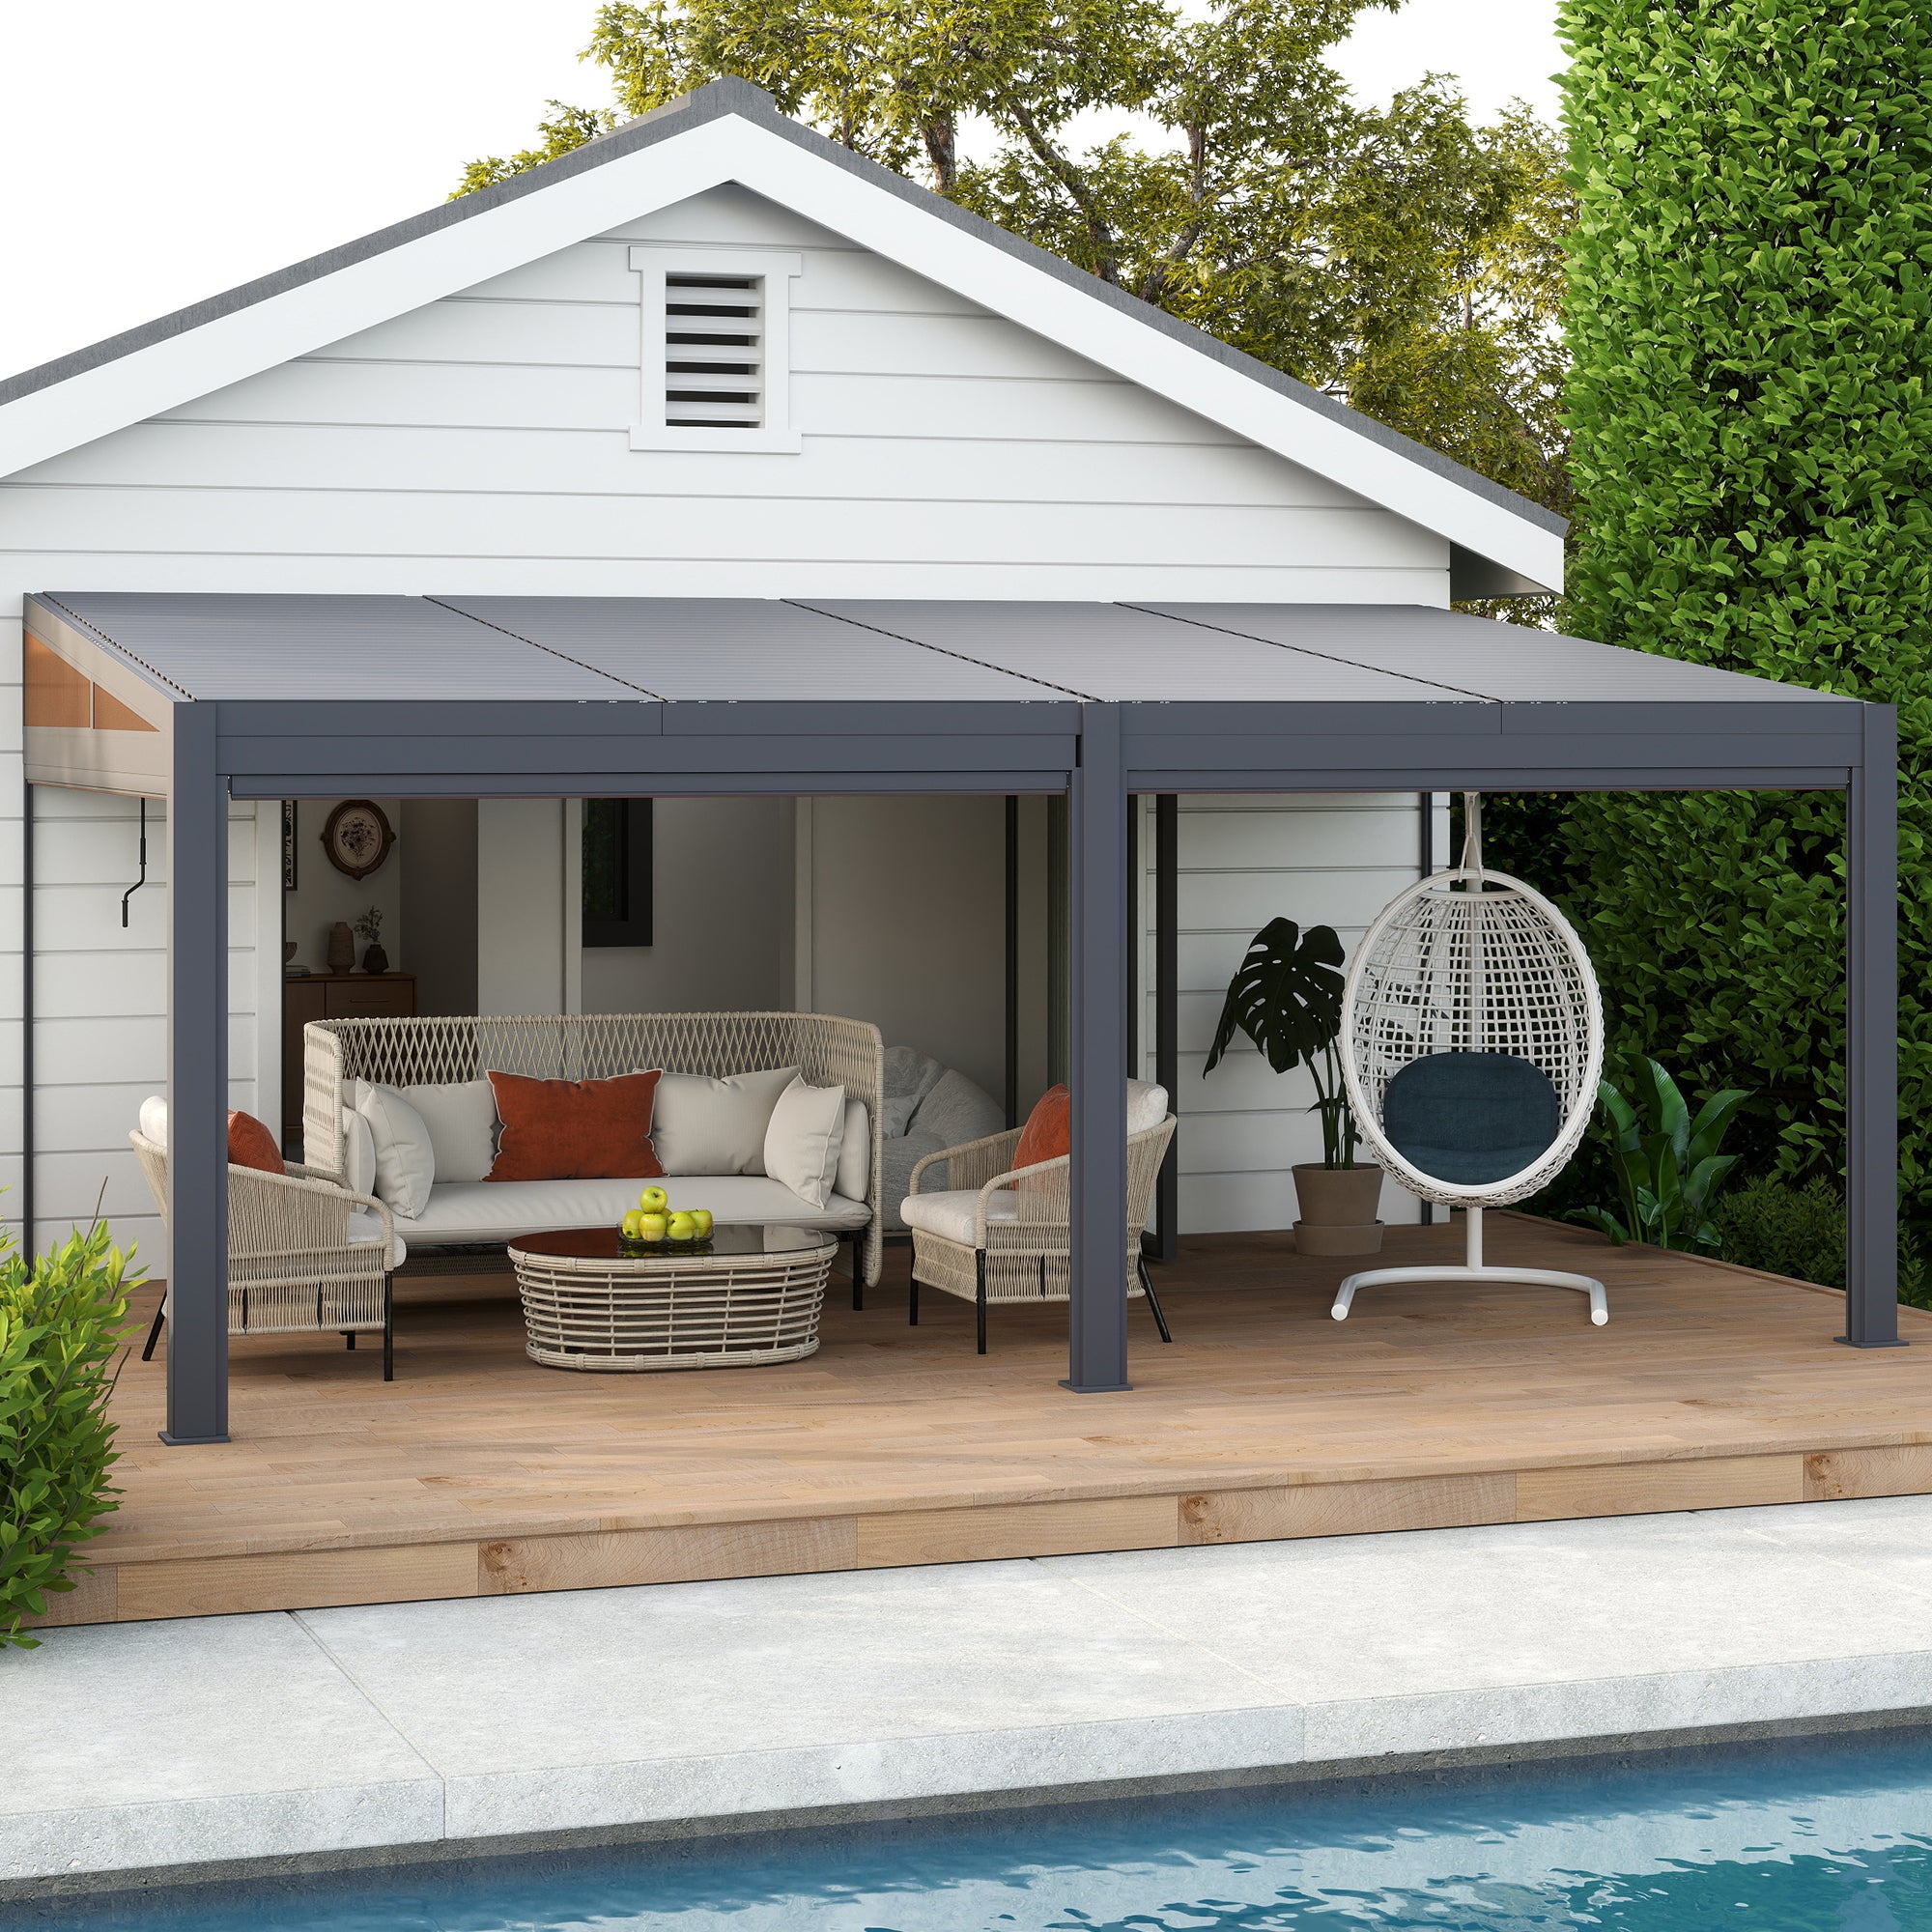
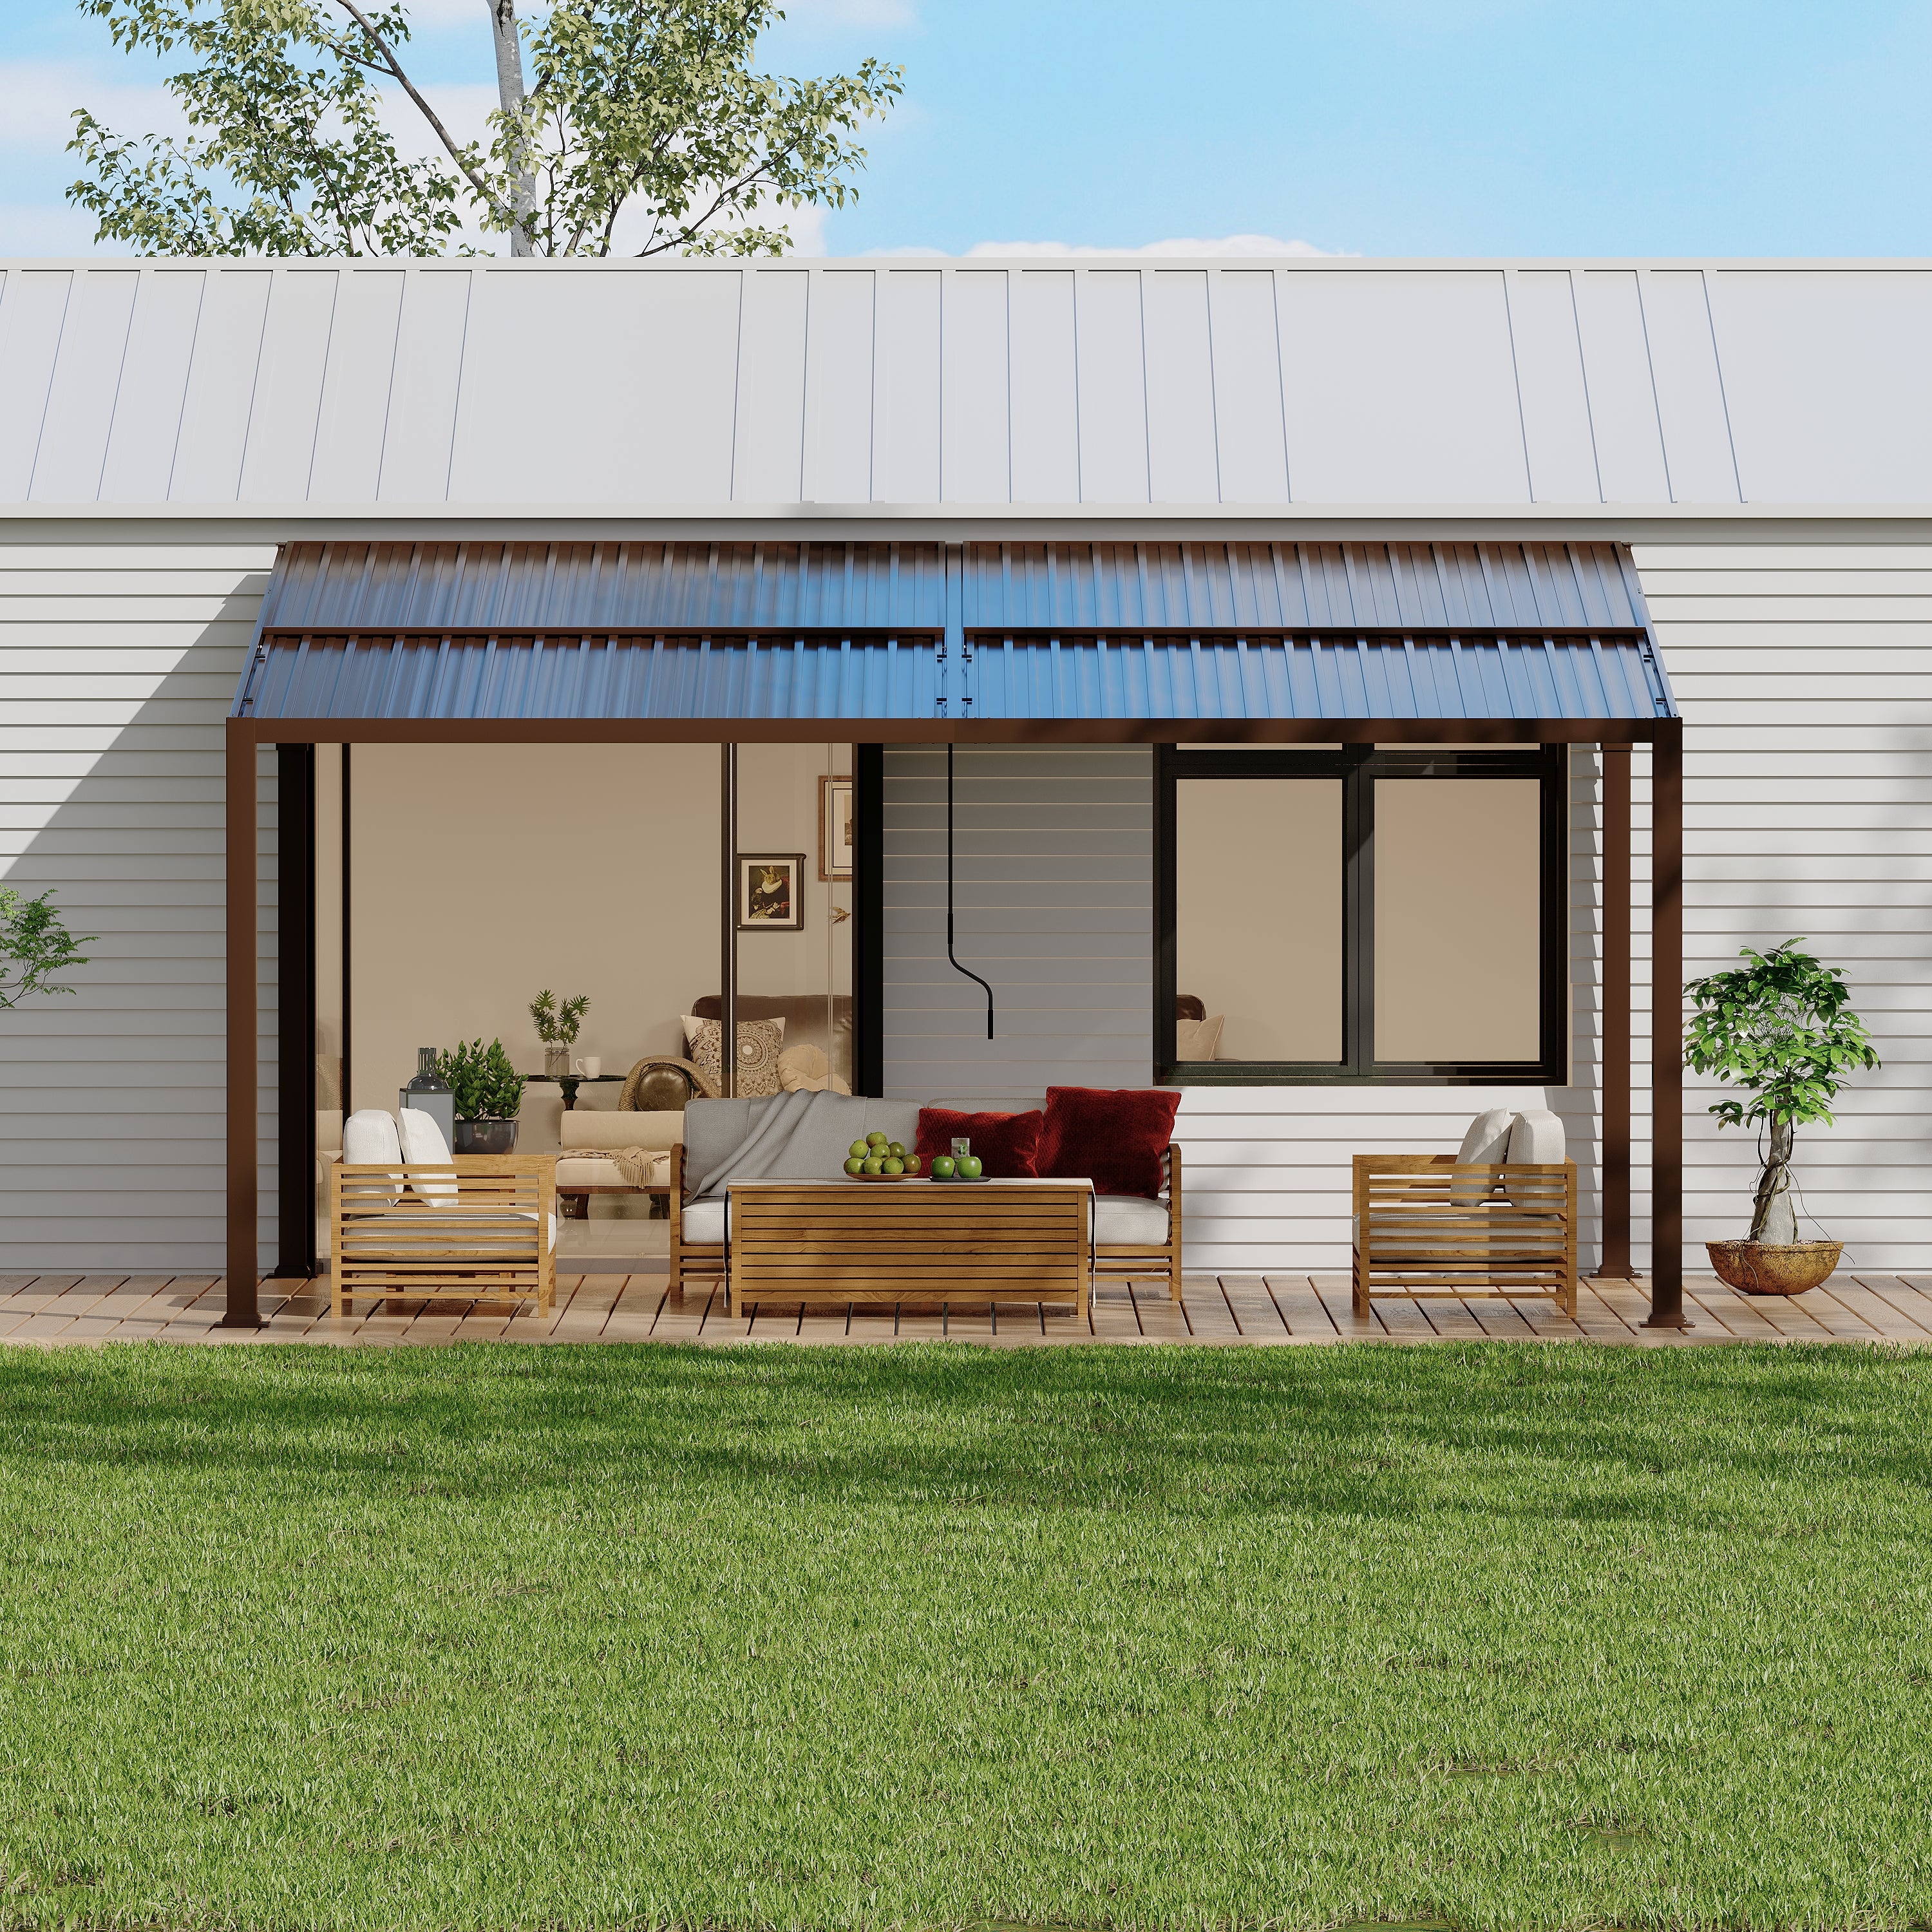
2. Pergola with Roof Attached to House
This one has a solid roof instead of open beams and is often designed with a lean-to structure. They can provide complete protection and offer an easy-to-access space for outdoor events.
Third, decide on the purpose of your attached pergola. For instance, if you have a large front patio and want to create an entertaining space, it would be a great idea to set up a modern pergola in front of house. In comparison, if you prefer to create a relaxing area with a seamless indoor-outdoor transition, then attaching a pergola next to house will be a better option.
How Do You Attach a Pergola to a House
Attaching our pergola to the house felt like a big adventure. Here’s how we did it:
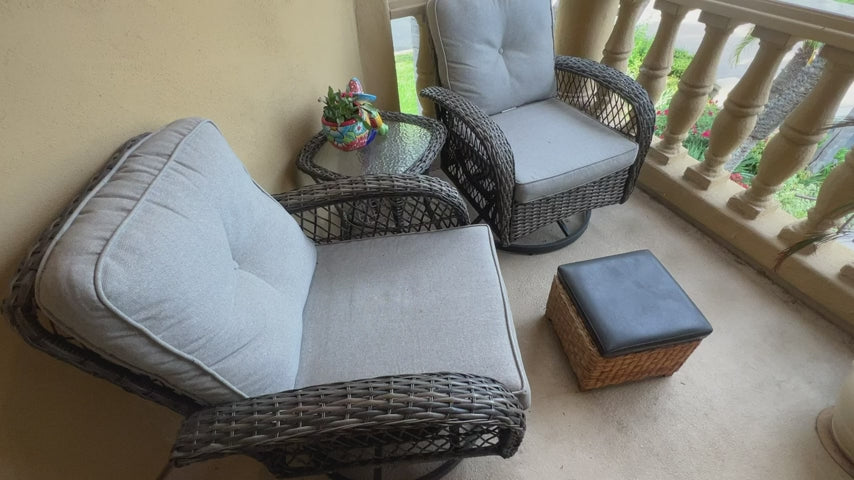
1. Clear and Inspect the Site
We started by moving furniture, planters, and any debris out of the way. (Safety first: we made sure the work area was flat and clear of trip hazards. We marked the four corner post locations with spray chalk, taking into account the slight slope of the patio.)
2. Level the Ground or Build Footings
To make sure the posts can stand at the same level, we’ve poured two 12-inch-wide concrete piers on the ground. (Please be aware that the concrete slabs for pergolas should be at least 4 inches thick for strength.)
3. Mount the Ledger Board
The ledger board is key – it’s the beam attached to your house that supports one side of the pergola. We located the wall studs behind the siding, then we held the ledger up, made sure it was perfectly level, and marked where the studs were. Then, drilling pilot holes, we fastened the ledger using long stainless steel lag bolts and expansion anchors through the studs. (Note: Make absolutely sure the ledger is level before bolting it on. Even a half-inch tilt shows up painfully in the rafters later.)
4. Set the Posts and Beams
With the ledger secured, we set up the posts for each outside corner and drilled holes at the base to hold metal post anchors. The ledger side didn’t need a post (the house provided support there), so we had two posts on the free side. Then we fastened the outer ends to the posts with bolts. That completed the rectangular frame – two parallel beams (one ledger, one opposite beam), with two post supports.
5. Install Rafters or Slats:
This was a team effort (seriously, we needed four people to get the rafters squared). We laid out our rafters spaced evenly, and lifted them one by one onto the ledgers/beams and nailed them in place. Definitely get an extra pair of hands here to hold and align each rafter. Once all rafters were in place, each connection was double-checked for tightness.
Tips for Alternative: If you feel that this DIY process of attaching a pergola to your house is too complicated, you can opt for advanced lean-to pergolas that are designed with a no-drill design. They have four robust posts with a sloped roof. You can simply place it against the wall, and it will provide a seamless covered space for outdoor activities.
How to Anchor a Pergola After Installation
After the frame was up and secured to the house, we focused on how to anchor a pergola. We had already set the concrete piers with embedded post anchors, so this was mostly finishing touches:
Wind & Snow Considerations: Living in New York, wind and snow are real. Ours can gust pretty strong, so we even added diagonal metal braces (Simpson Strong-Tie brackets) from each post to the beams. These braces transfer wind loads and help the pergola stay rigid.
Maintenance Tips: Check your pergola's anchors and bolts every 6-12 months. Every spring, clear off accumulated debris and give the structure a fresh coat of waterproofing sealant (especially the top surfaces). These little check-ups will keep a pergola safe for decades.
Conclusion
Building our attached pergola was one of the most rewarding DIY projects we’ve done. Walking out to sip morning coffee under its slatted shade makes the work feel well worth it. All in all, hope this guide on “How to Attach Pergola to House” can help you craft an outdoor space you’ve been dreaming of.
